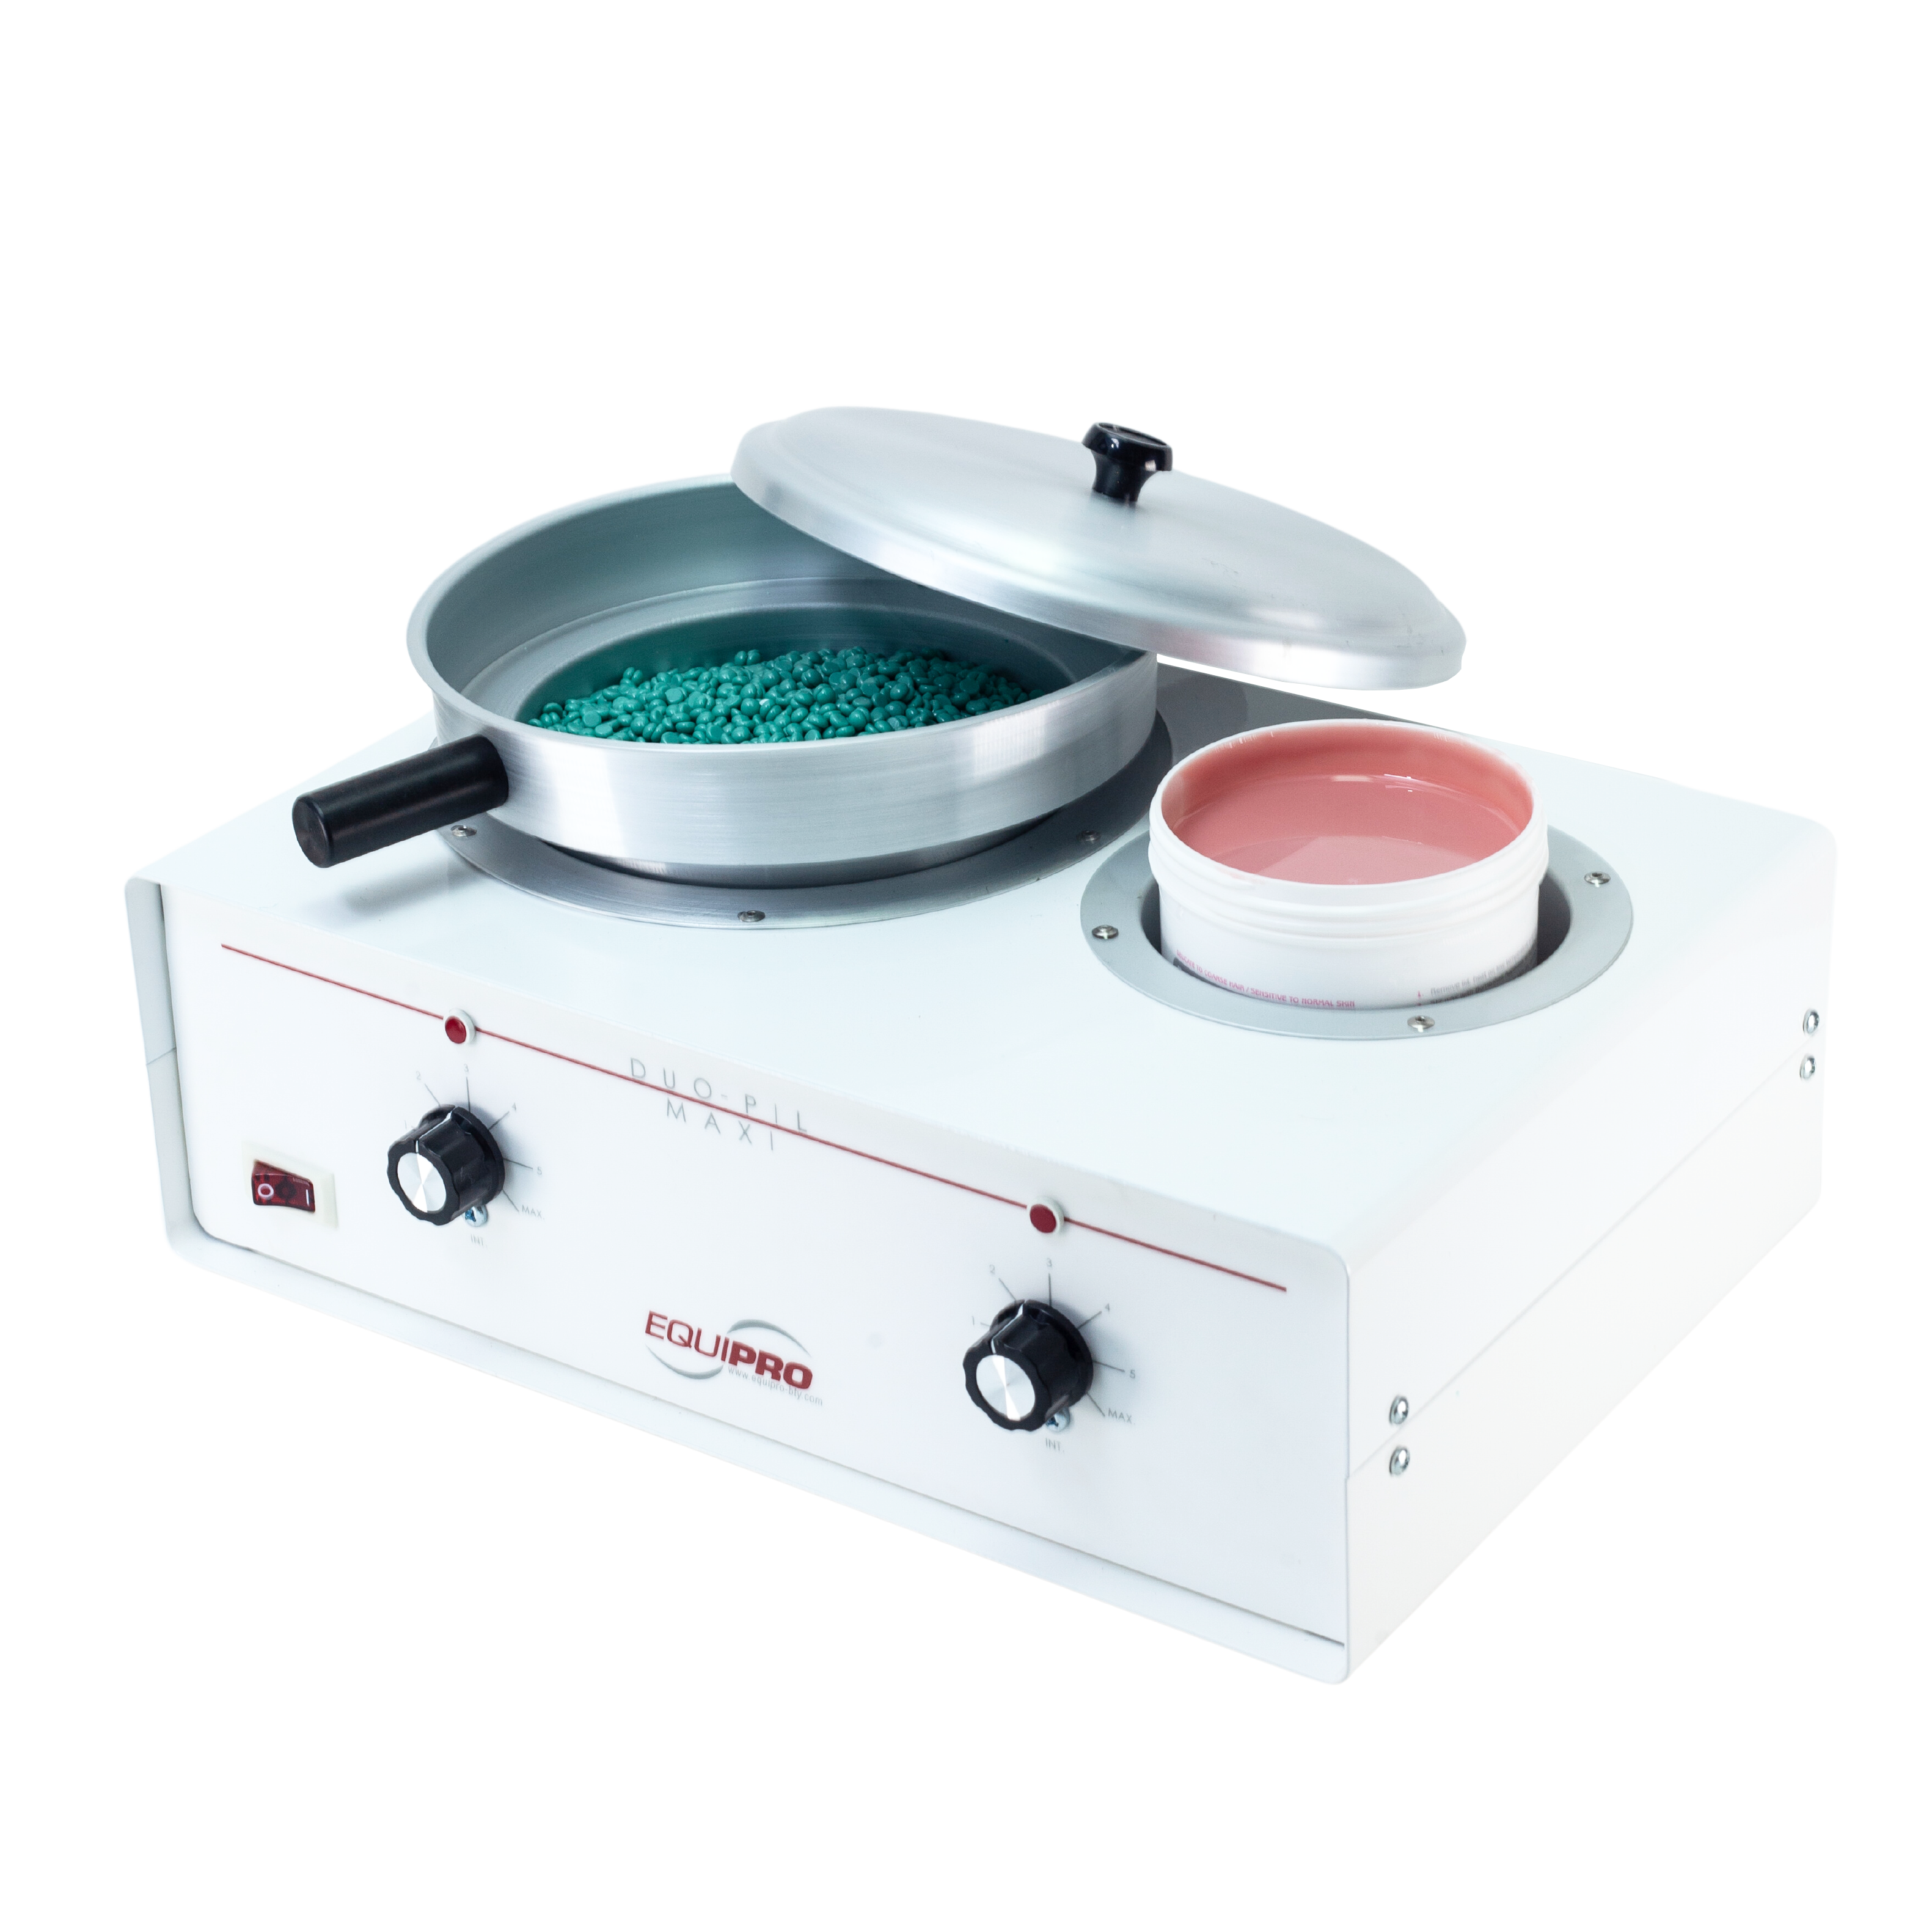
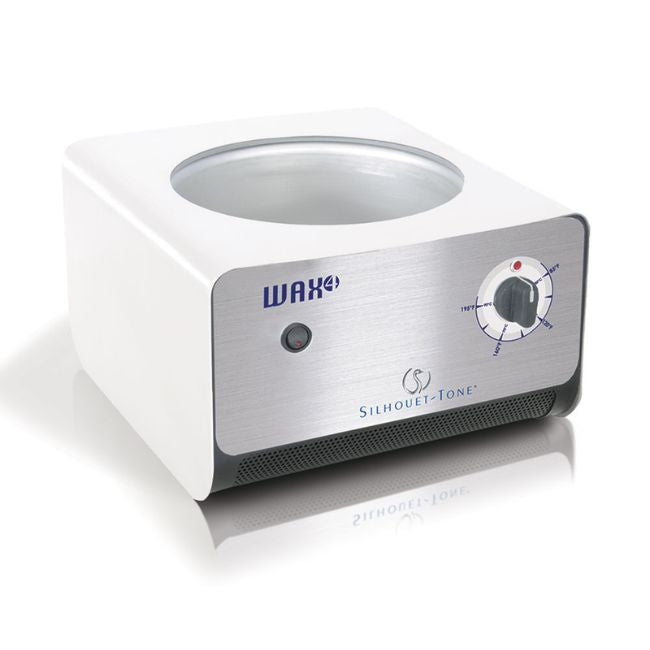
Use
Start by adding the appropriate amount of wax beads/chunks or your strip wax can.
Hard wax beads can be added directly into the melting chamber.
Set the warmer to your desired temperature, allow the wax to melt thoroughly.
Once melted, stir the wax to check its consistency, then test a small amount on your
wrist to ensure it's at a comfortable temperature before application.
Specific Warmer Instructions
The power lead and ON/OFF switch is at the rear of the unit
The control panel is at the front of the unit.
The blue time display is a 12-hourclock.
A small red LED indicates AM and a green LED for PM.
The red MODE display shows temperature in degrees Fahrenheit plus other functions that will be described below
The factory defaults that will appear at first switch on are:
Clock is set to GMT
Alarm is set to 7am
The target temp is what is set on the display and will flash at power ON.
Flashing indicates the heater is trying to reach target temperature.
Whenever the power is SWITCHED ON the display will default a red flashing TARGET temperature. This target temperature can be changed by pressing the +/- buttons and will become the new default TARGET whenever powered ON.
A flashing display means the heater is ON and trying to achieve the target temperature. When the target temperature is reached the display will stop flashing. Within a few minutes, the temperature will naturally drop and at which point the flashing display will resume to show that heating is trying to achieve target temperature.
Three red dashes. This temporarily sets the target temperature to 100F but there will beno temperature display. The wax temperature drops and stays at its melt plateau. Pressing the M button resets the display to the last set temperature and the display will start flashing immediately.
F-H: This function forces the heater into a higher power mode for 65 minutes when ever the wakeup alarm is triggered. Pressing the M button to select F-H allows temporary accelerated heating until the M button is pressed again.
A large red LED illuminates to show that: The alarm has been set and will wake the unit at the pre-selected time. Upon reaching the alarm time, fast heating (F- H) is activated and will flash for 65 minutes to bring the wax up to working temperature.After65 minutes the last target temperature will be displayed. At the end of each working day, the wake up alarm for the next day can reset by pressing the M button until the large red LED is illuminated.
Red display is blank. The time display is illuminated. SETTING TIME (clock) Press the T button once and the HOURS will flash Use the +/- buttons to adjust the hours. Remember that there are little red and green LEDs to indicate AM or PM Press the T button again and the minutes flash, Use the +/- keys to adjust the minutes Press the T button again to exit clock setting and return to live time.
Press the M button until the RED alarm LED is ON Press the A button once and the HOURS will flash. Use the +/- buttons to adjust the hours
Remember that there are little red and green LEDs to indicate AM or PM
Press the A button again and the minutes flash, Use the +/- keys to adjust the minutes Press the A button again to exit alarm setting and return to live time.
Only when the red LED is ON is the alarm activated for the next day.