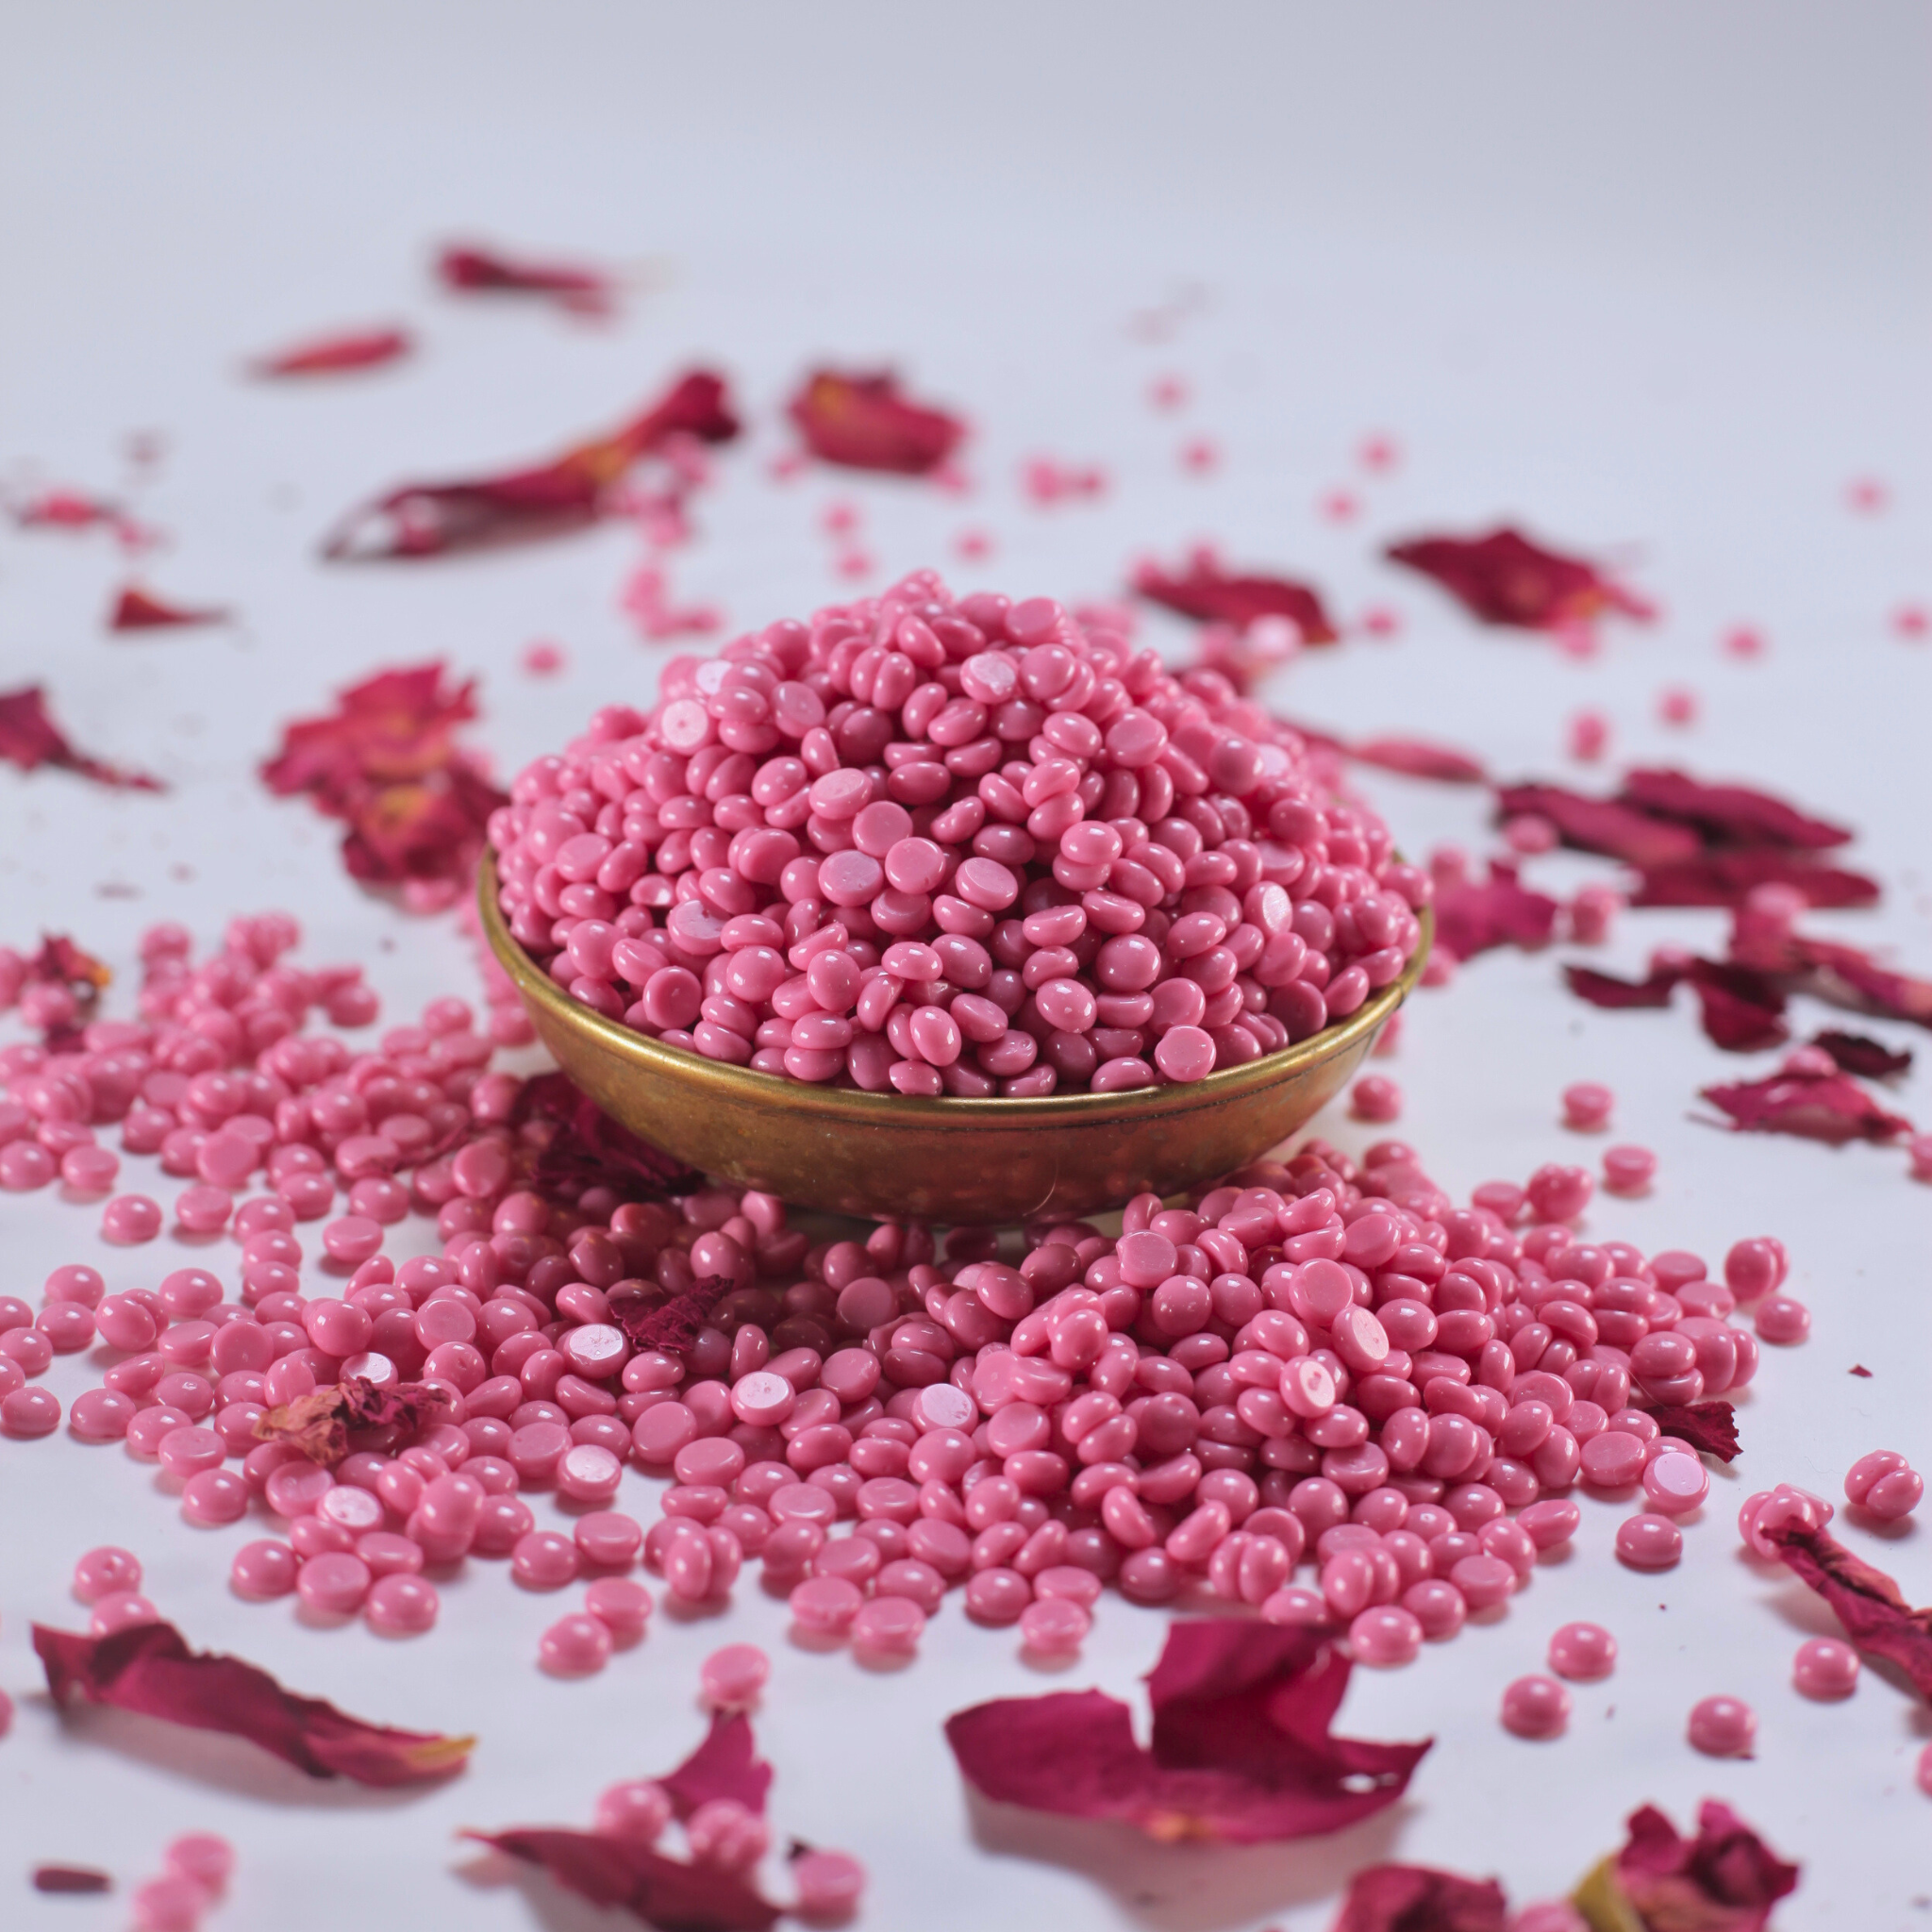
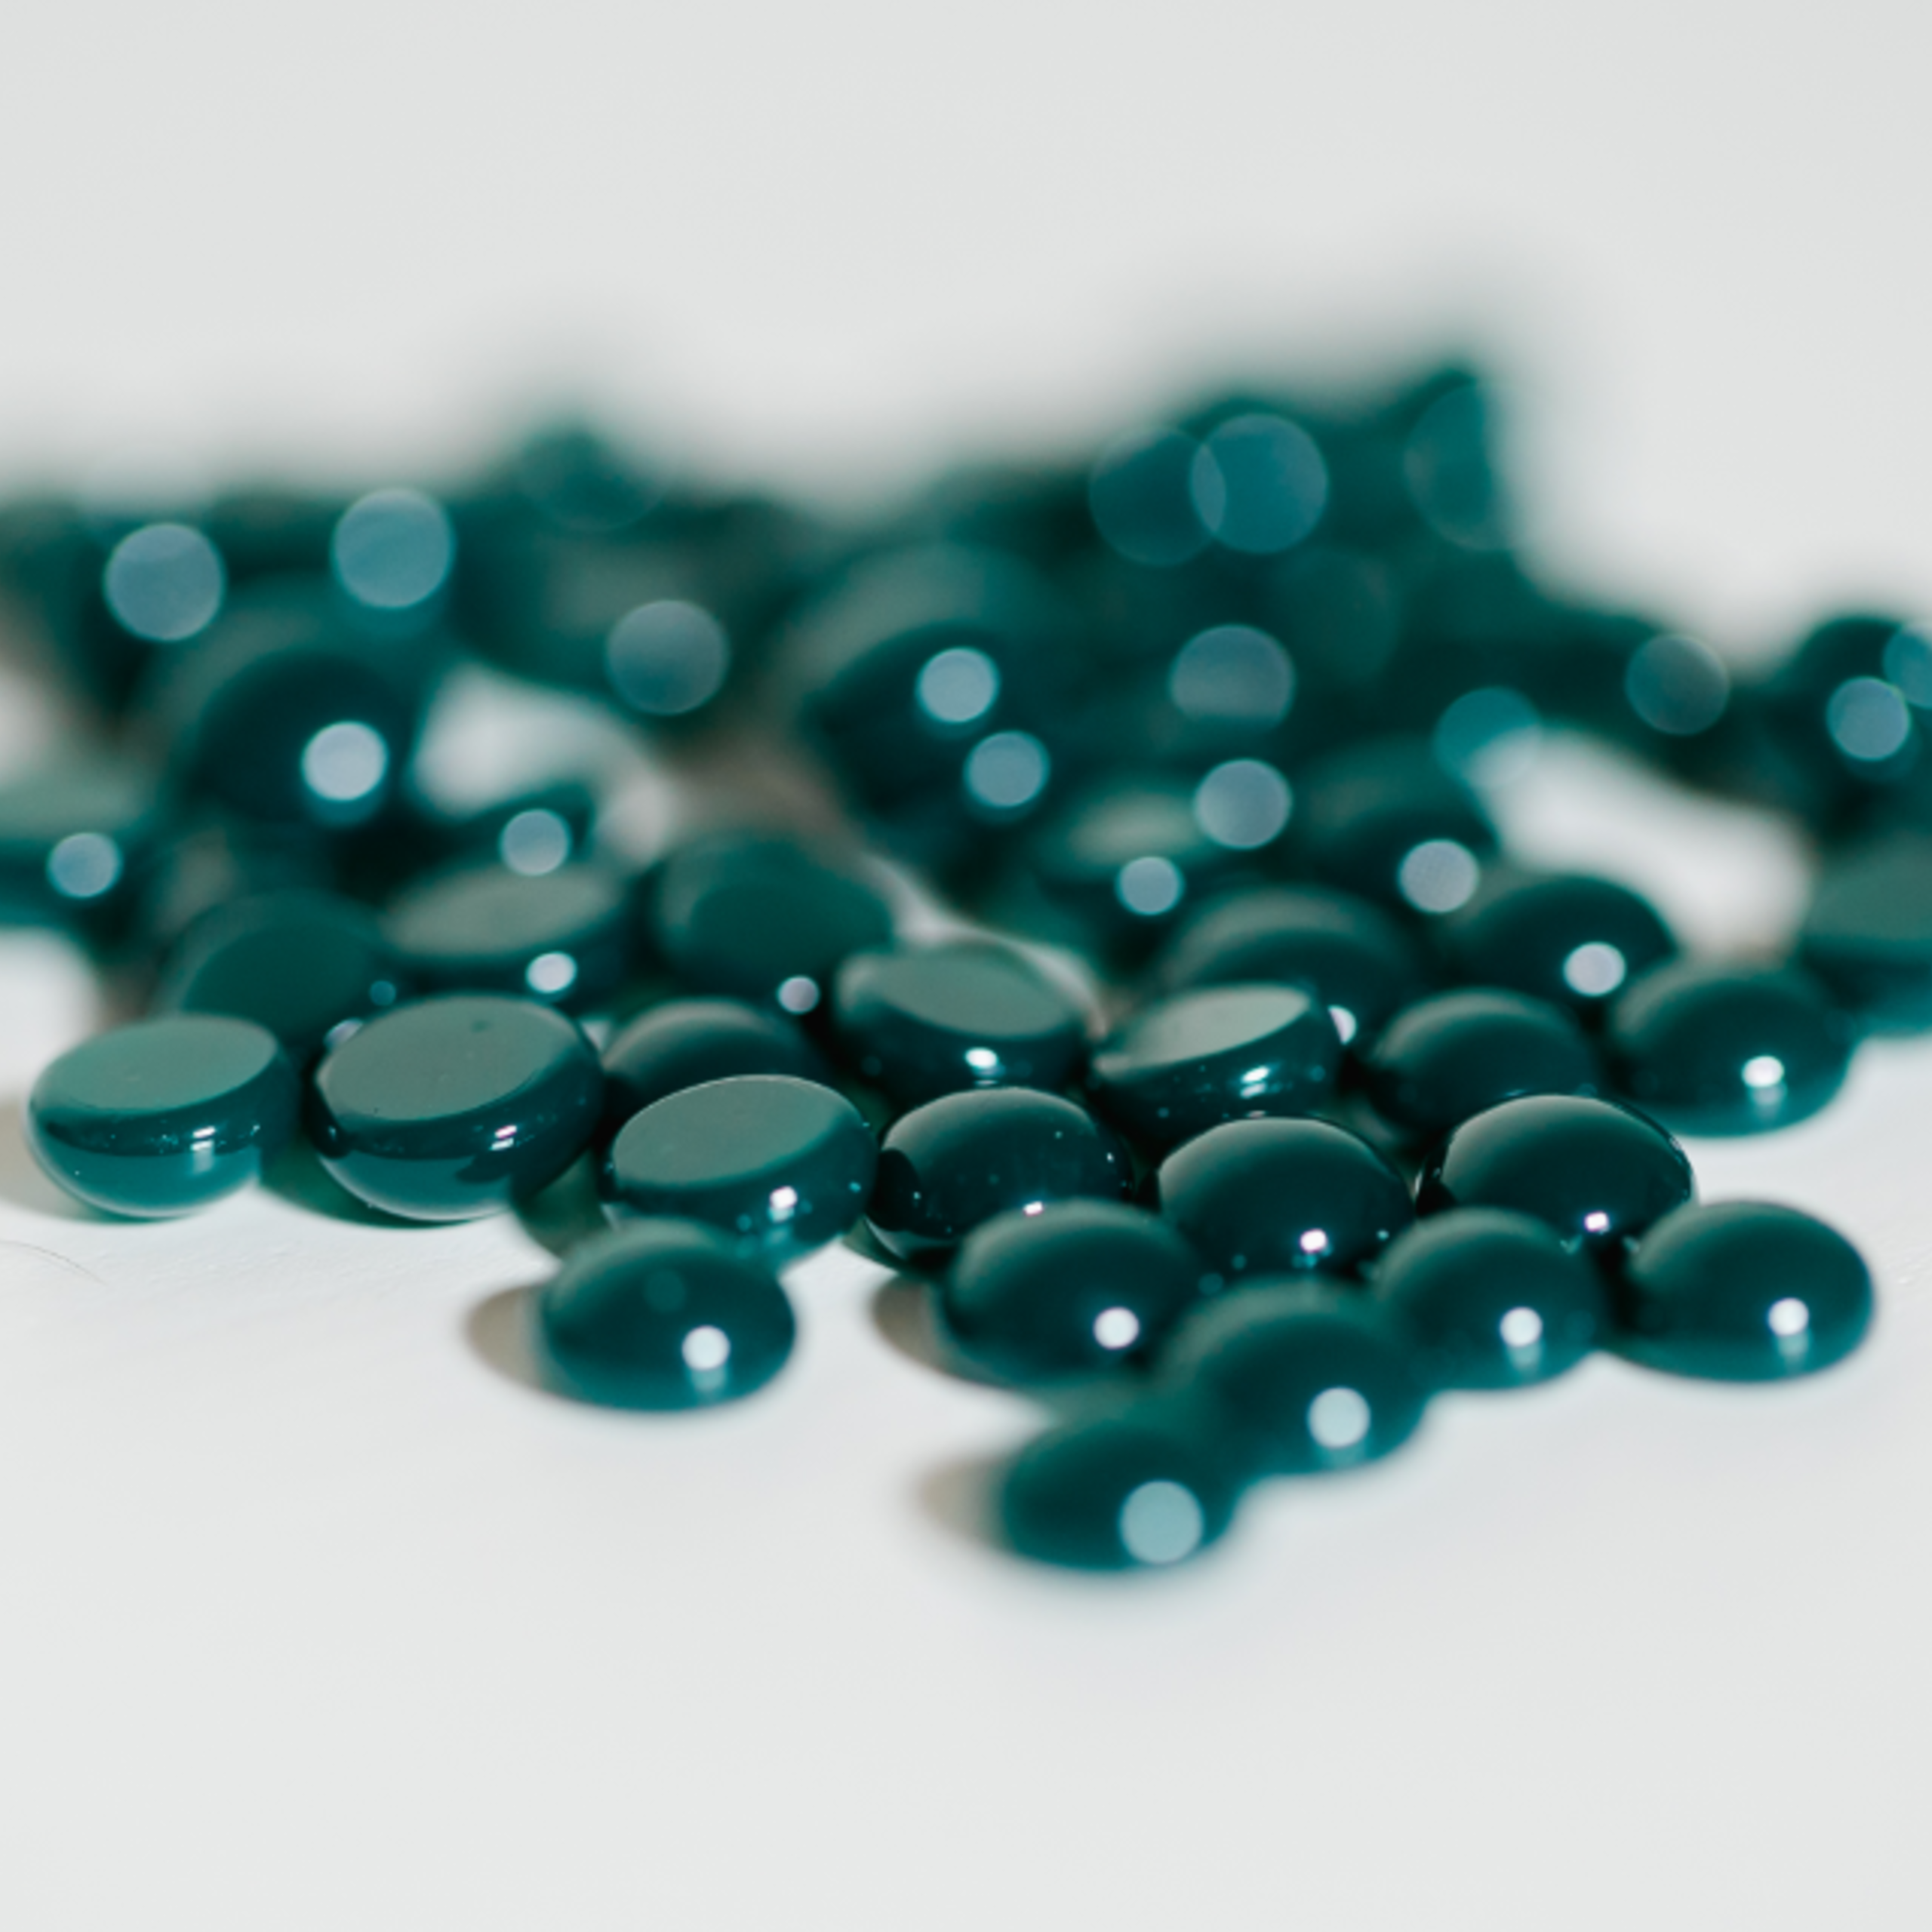
Melt the Wax:
Turn on your wax warmer
and stir until the wax reaches a smooth, pancake batter-like consistency, adjusting the temperature as needed.
To check, lift the wax
with a spatula; if it drips instantly, it’s too hot. If it clings to the applicator without dripping for more than 3 seconds, it’s ready.
Test the Temperature:
Apply a small test strip of wax on your wrist. This ensures the wax is at a safe temperature to avoid skin burns. Adjust temperature to the fluctuating wax & room temperatures.
Prepare the Skin:
Ensure the area to be waxed is thoroughly prepared using Bombshell's Pre Wax Products. Cleanse the skin using either our Foaming Skin Cleanser
or Mineral Oil Solution.
Some estheticians also like to use our Cornstarch Powder to minimize skin contact.
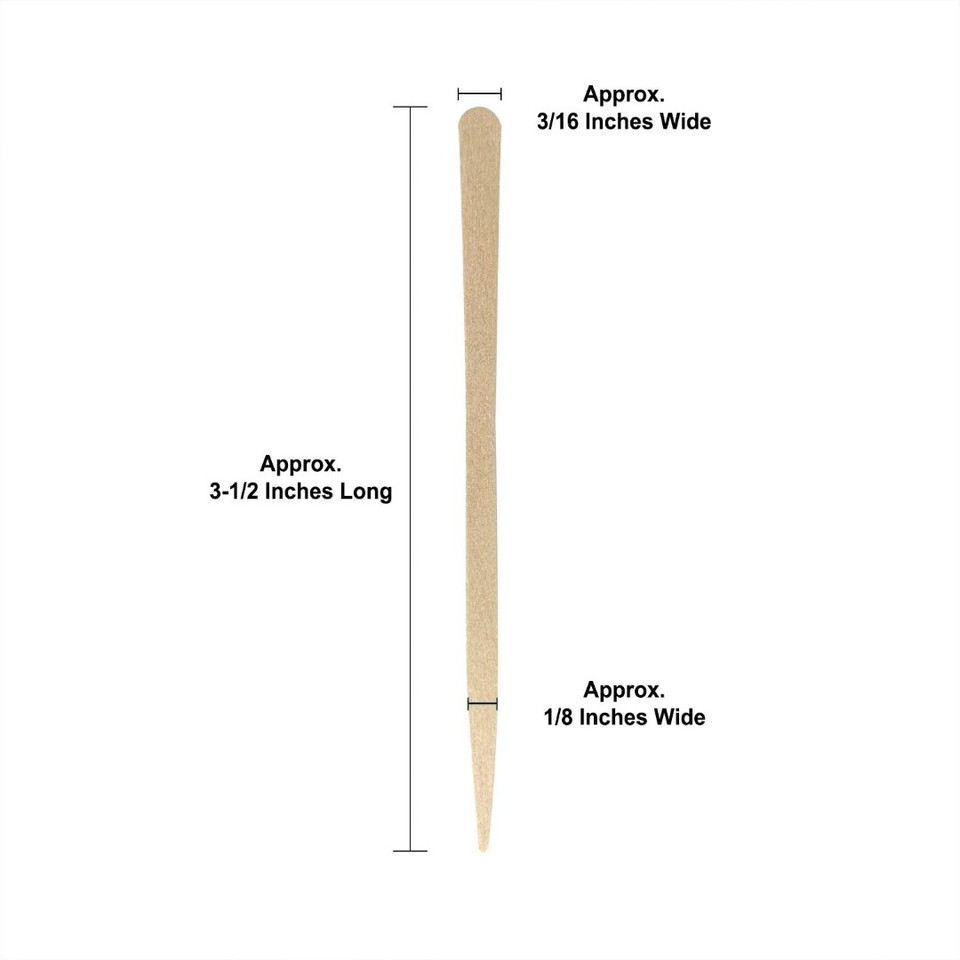
Apply the wax:
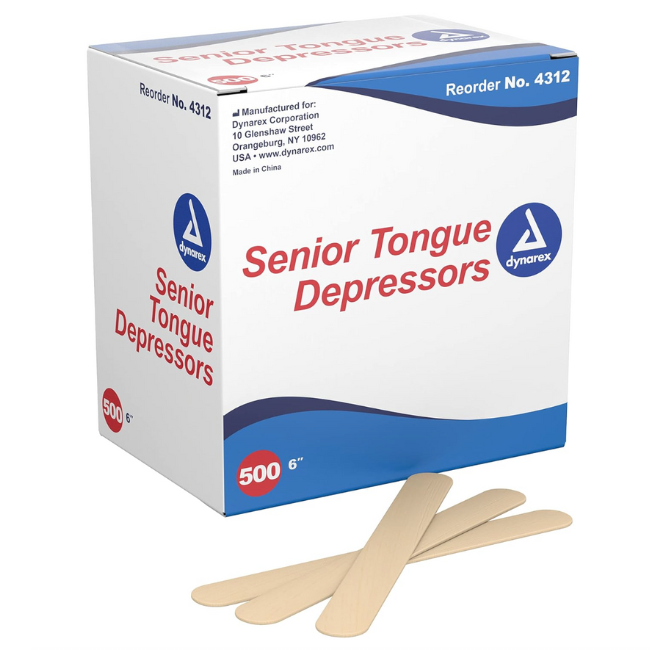
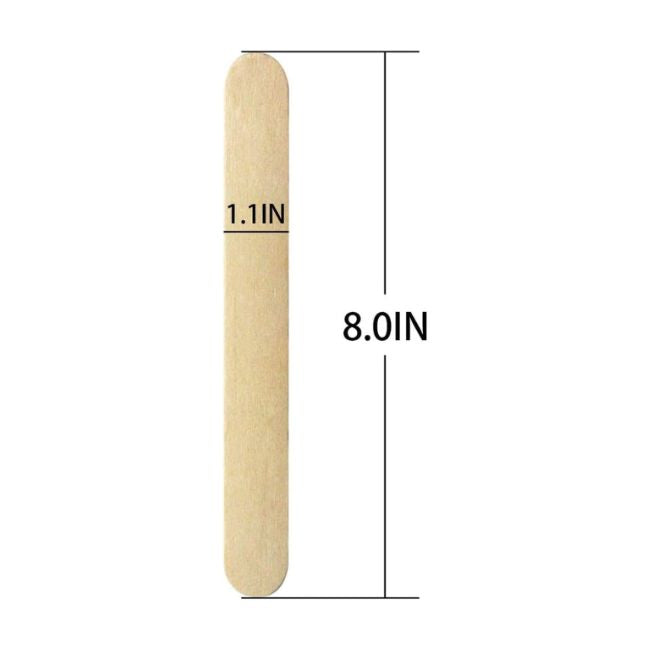
Using a wooden spatula,
stir the wax in a figure-eight motion three times, then scoop. Hold the applicator perpendicular to the skin
and apply wax evenly in the direction of hair growth with gentle pressure, leaving a thicker 'pull-tab' at the end of the wax patch.
Cool and Set:
Allow the wax to cool until it is no longer sticky when you tap your finger on it.
Remove the Wax:
Once the wax hardens to the touch, put pressure on the skin near the thicker end of the wax patch.
Using your other hand, grip the 'pull-tab' and the skin beneath at the front end of the wax patch with your thumb and index finger.
Pull the wax tab off smoothly and briskly, parallel to the skin against the direction of the hair growth.
Immediately apply pressure to the waxed area to soothe the skin & the customer.
Post Wax Care:
Finish with Bombshell's excellent Post Wax Care Products, including Mineral Oil Solutions and Soothing & Disinfecting Cremes
to soothe and hydrate the waxed area, and Exfoliating Skin Pads to clean out pores.
Emphasize to clients: at home care is essential pre wax care for their next appointment!


